How to use Scratch
It is super easy to create an account with Scratch. All students will need is an email address and a profile name, which Scratch recommends is not your real name. I thought this was a nice reminder of digital safety. Now that you have an account - it's time to get started. I was a bit unsure of how to proceed, but enlisted the help of my lucky eleven year old son:).
This is the opening screen and there are a few ways to get started.
This is the opening screen and there are a few ways to get started.
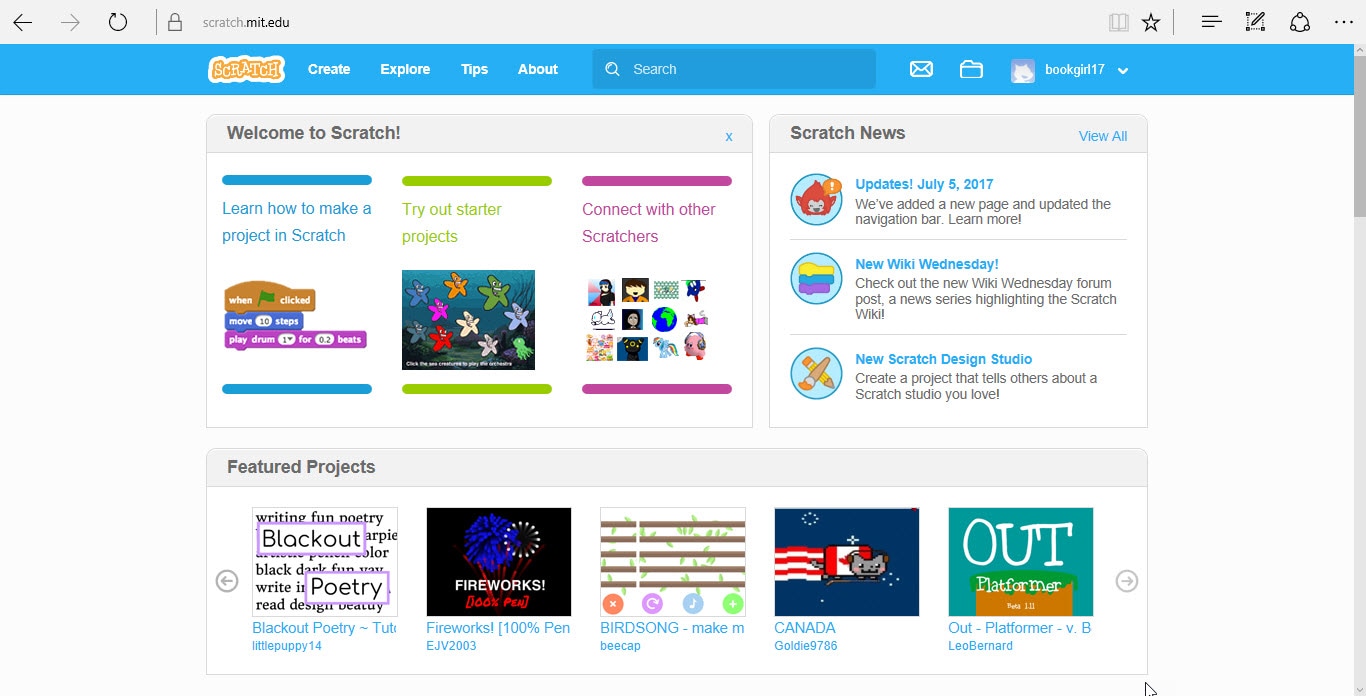
You can choose to go in three different directions. I will admit that I wanted to jump in and start creating, but Aiden suggested I explore a bit first to see what others had created.
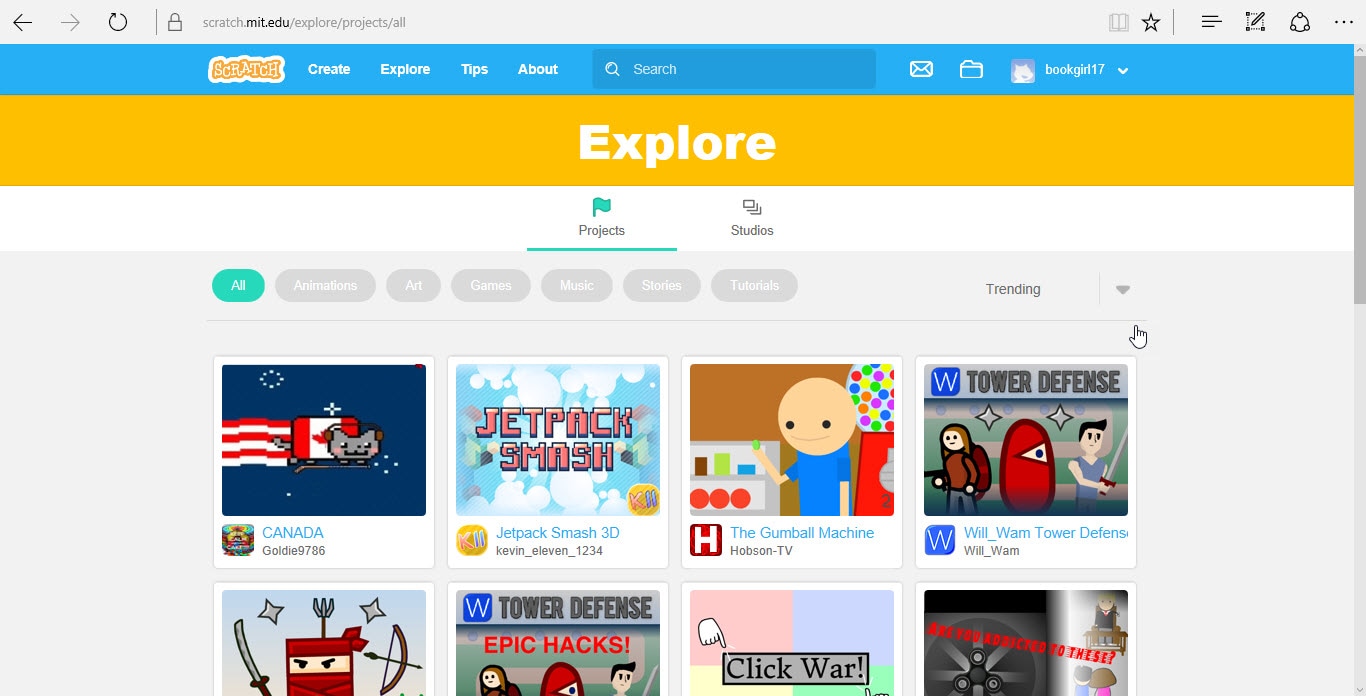
The explore option allows you to see what others have created. It is a great way to get ideas and play games that others have made. I was amazed by all the different creations and humbled by the fact that I had no idea how to create some of the things that I saw. This reminded me how much kids can do if we let go a little and let them explore.
After exploring a bit, I moved to the create option to see what I could do.
After exploring a bit, I moved to the create option to see what I could do.
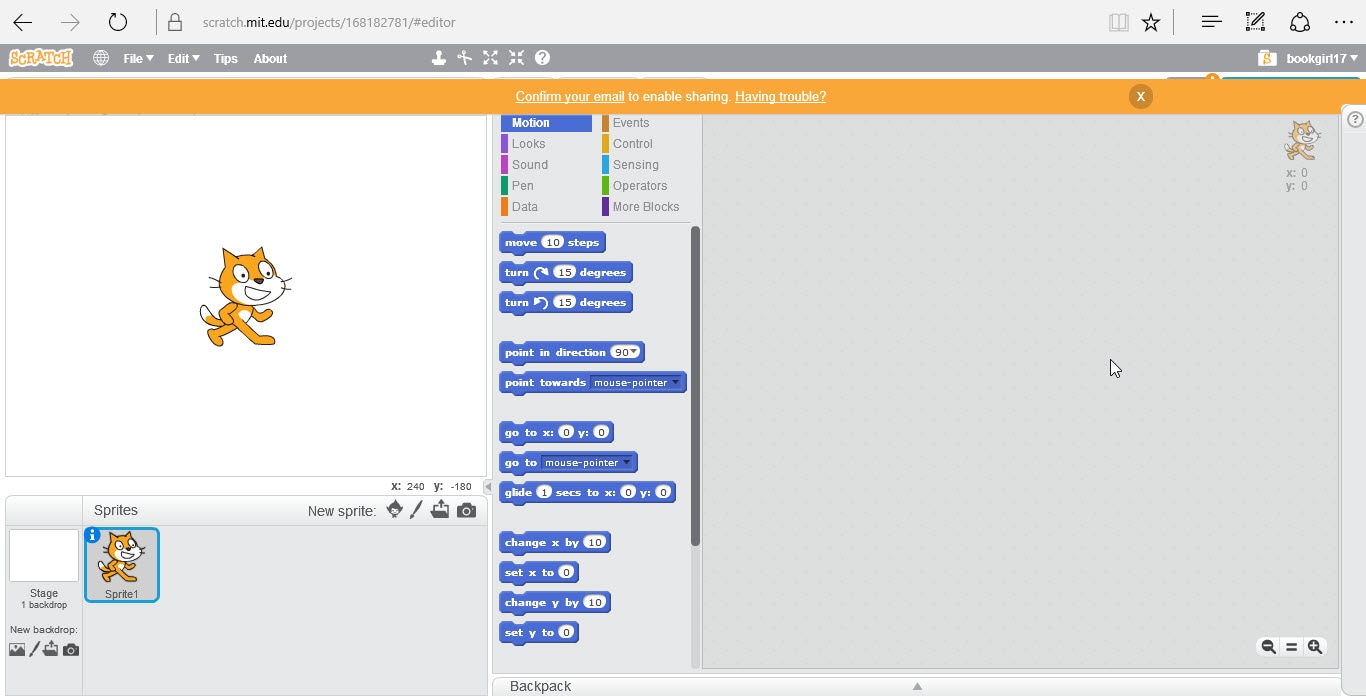
You start with Sprite the cat and use codes to move him. All of the blue commands are to create motion. There are other options that can make him do more. This is a great way to make characters in an animated story move and talk. After I played with this a bit, I decided I wanted to make my own game. My son kindly explained that I may want to look at the tips before attempting to make my own game. I guess he did not think I was up to the challenge :).
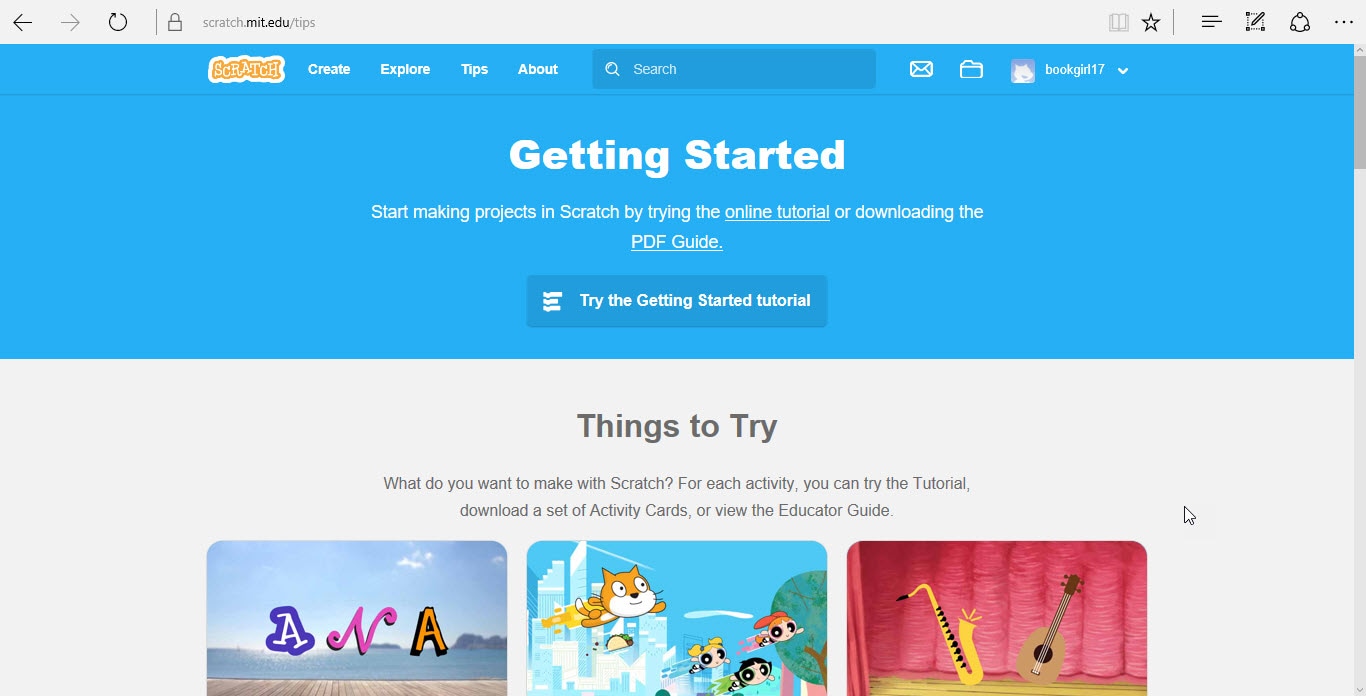
The tips tab provides tutorials that help students create different things I knew I wanted to make a game and there was a simple tutorial that walks you through the steps. Aiden and I decided this would ensure my success!
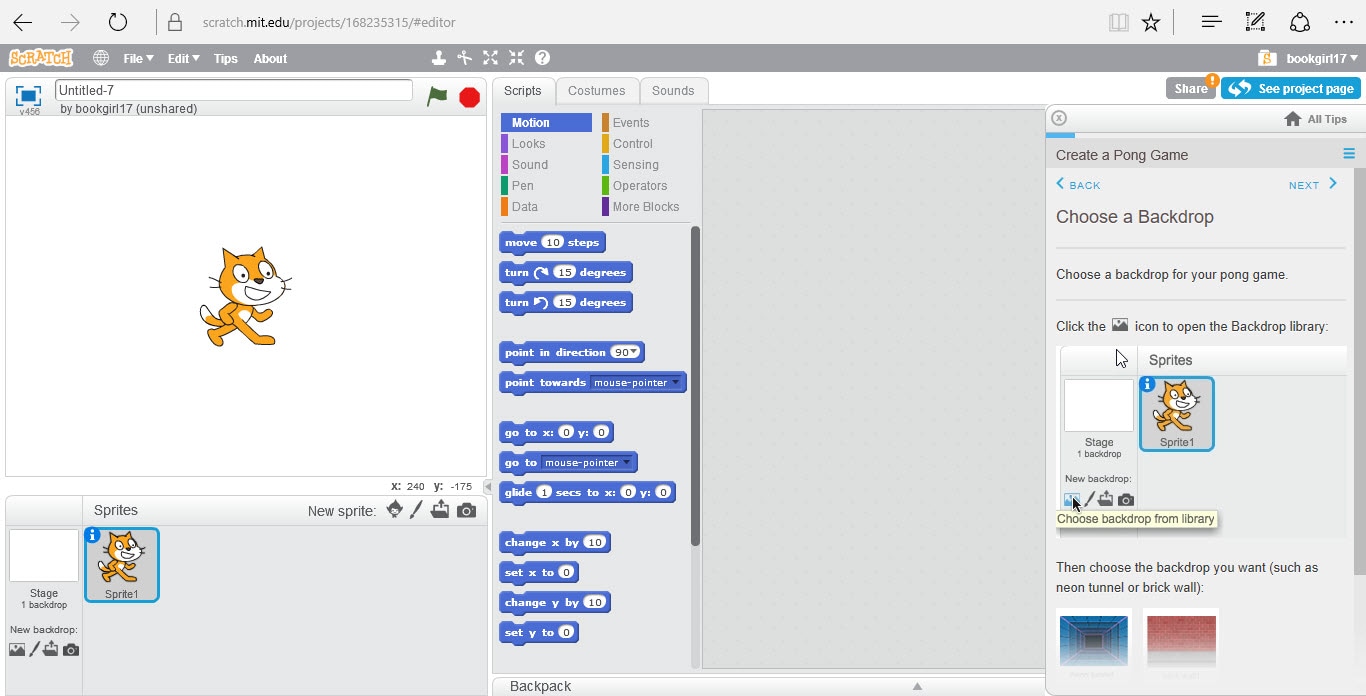
The tutorial provided step by step instructions to create your own version of the game. This is the start screen, but I chose to go a different route. Since my son and I love baseball, we created a baseball pong game.
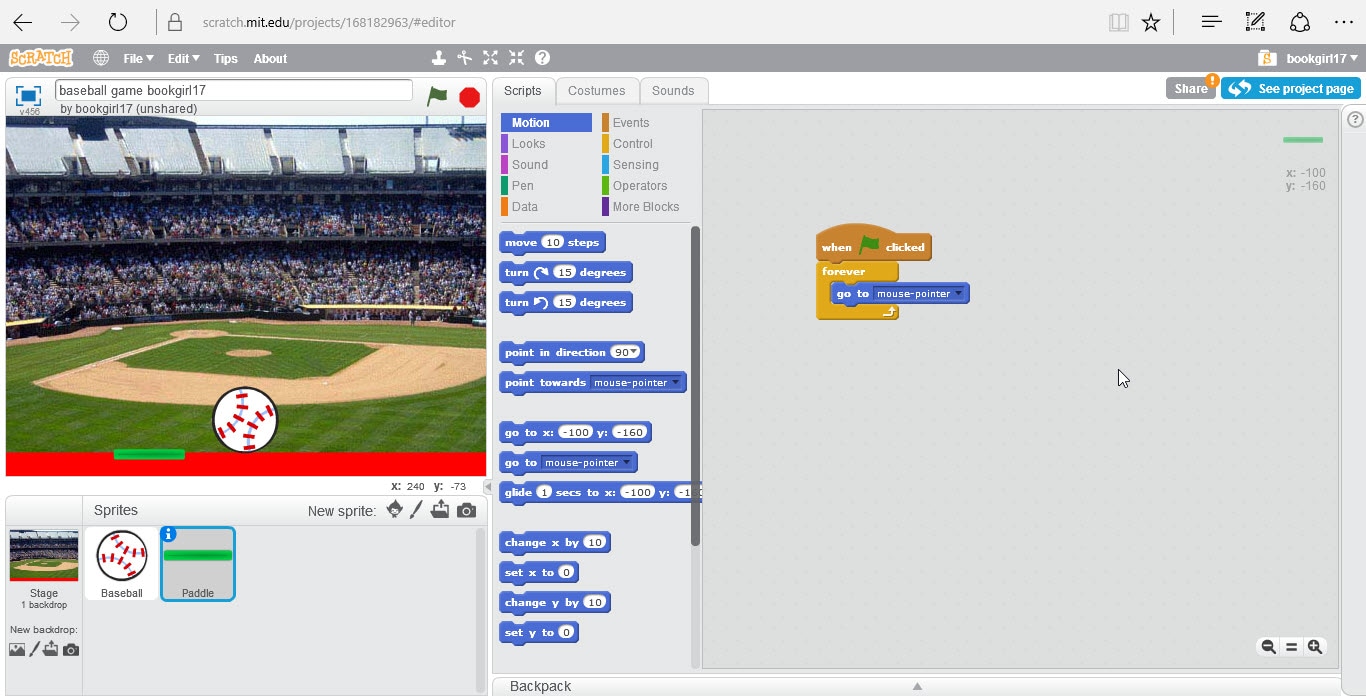
Once we got started, it was pretty simple. The tutorial provides all the steps, so all we had to do was mirror those steps. So for example, the baseball sprite received its own set of codes. You can see that there are three groups of codes above. The top one controls the bounce of the ball. When the user clicks on the green flag, the ball will start bouncing forever. However, we wanted to create a pong game so we added another group of codes that allows it to "bounce" off the paddle. That is the second group of codes. The last group of codes makes the ball stop if it hits the red line, in other words the user does not get the paddle under the ball in time.
The last step was to create the paddle codes. This one was pretty simple. Remember that the tutorial showed us what codes to use, we just had to mimic it in our own game. This group of codes allows the user to navigate the paddle to "tap" the ball.
